User Access and Team Management
WorkStep enables administrators the ability to manage team members’ roles/groups-based access/permissions system to your organization’s account. Administrators can create and manage team members and their access from the Team area. This is a fundamental security feature providing only administrators full control over who accesses the account, and what authorizations they are enabled, from a granular level.
Access and authorization permissions
Users can only access the WorkStep platform once they are configured as part of the Team by an administrator.
Access to different features is then controlled by:
- Product access: (access can be granted separately for the WorkStep HIRE and RETAIN products)
- Data Access: role and facility-level access
- Authorization to perform actions: view-only, edit or admin
The following table describes the kind of authorization enabled for each of the different levels.
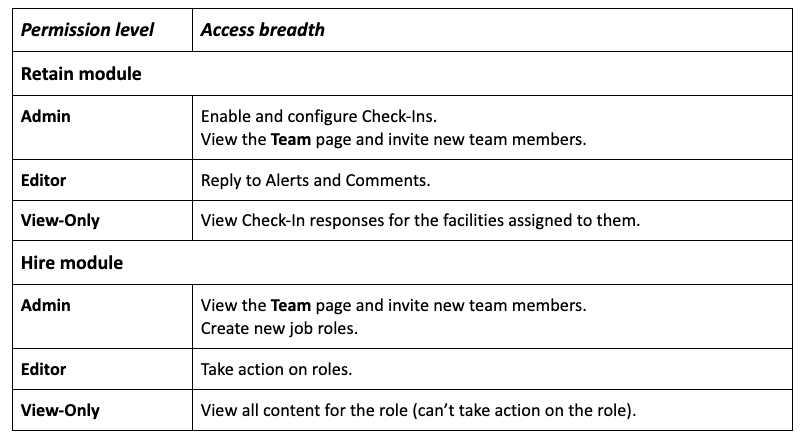
The ability to configure access on this granular level means that any user can only access the areas configured for them and can only view, edit or manage in those areas based on the authorization level configured for them.
For example, a user assigned an admin role for all facilities and roles in WorkStep RETAIN and view-only for WorkStep HIRE can see all users in the Team area, can manage the users in the WorkStep RETAIN product, and can only view details in the WorkStep HIRE.
All administrators (regardless of their configured limitations) can access the Team area and from its main page, they can view a complete list of all users in the organization. This provides better visibility and transparency into company-wide access and use of WorkStep.
Team Page Overview
Click Team from the top right of any screen in WorkStep to manage users. The page will automatically sort alphabetically by user name:

HIRE by WorkStep Admins see the HIRE page and WorkStep RETAIN Admins see the RETAIN Groups page. A user who is an Admin for both products can see and manage user access for both HIRE by WorkStep and RETAIN.
Invite team members
Administrators grant access to facility and role level data based on what that specific admin user has access to. For example, if User X has “all access” then they can grant “all access” to other users. If they only have access to the “San Francisco” facility, then they can only grant access to the “San Francisco” facility.
To invite a new user:
- Click Invite Team Member from the top right of the Team area to invite new users.
The Invite Team Member screen loads. - Configure the user’s RETAIN groups (facility, role, division)
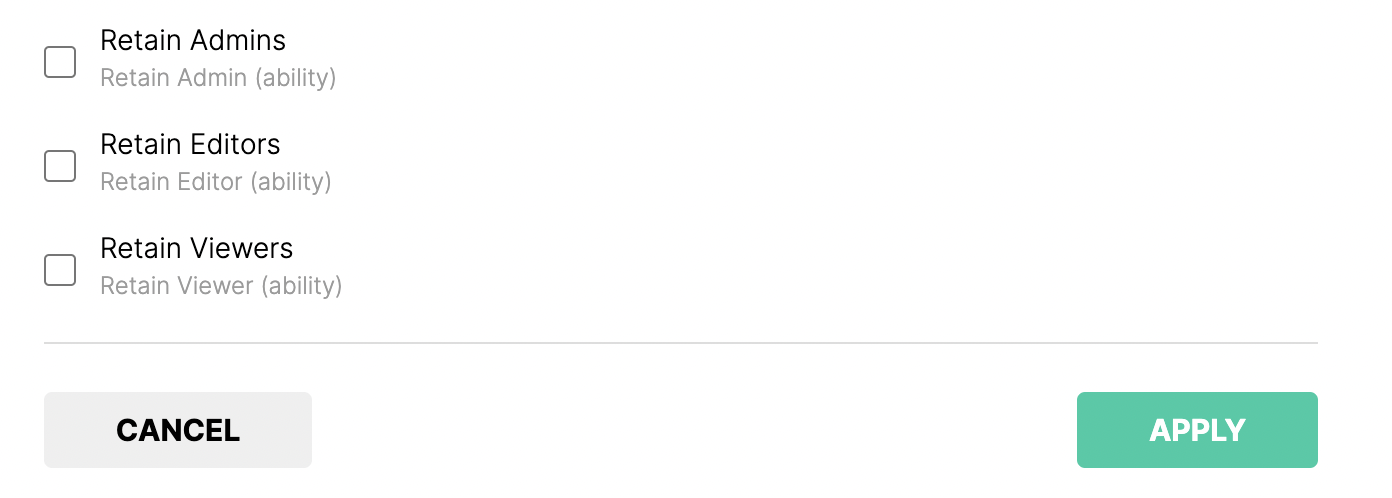
- Select the ability group that you would like the user to have and click APPLY
The invite is sent to the user based on the email you entered. When they access the system, they will be able to perform actions and view information based on the way you configured their role.
Edit Team Member
Administrators grant access to facility and role level data based on what that specific admin user has access to. For example, if User X has “all access” then they can grant “all access” to other users. If they only have access to the “San Francisco” facility, then they can only grant access to the “San Francisco” facility.
To edit permissions:
- Find the user whose permissions you want to update.
- From the row for that user, click Edit.
- Configure the user’s access and click Save to update the user’s permissions.
Configure permissions
Roles/groups-based access/permissions can be managed for Hire and RETAIN. Every time you invite a new user or edit an existing user, you access the same fields, enabling you to update their details and their permissions.
To configure permissions and details:
- Access the screen by clicking Invite Team Member or finding an existing user and clicking Edit.
- Enter relevant details for the name, email and job title of the user.
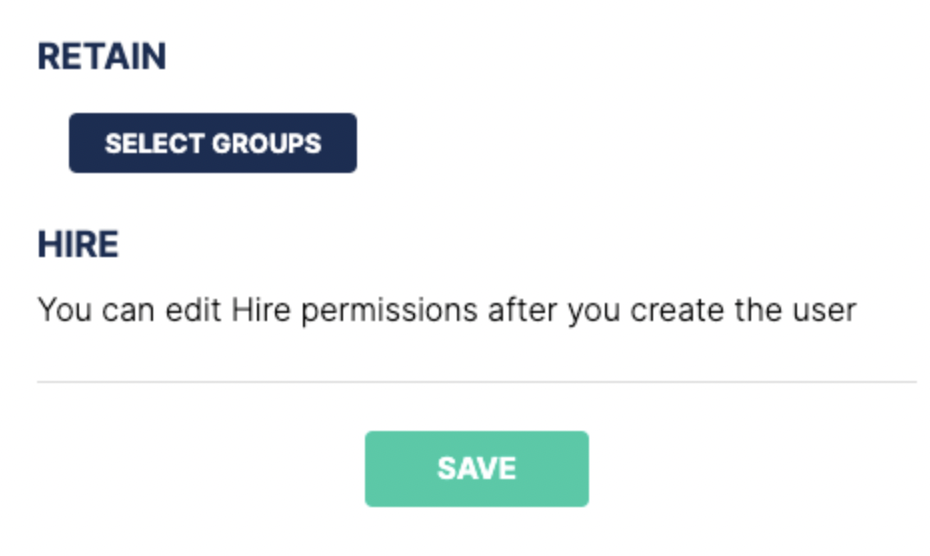
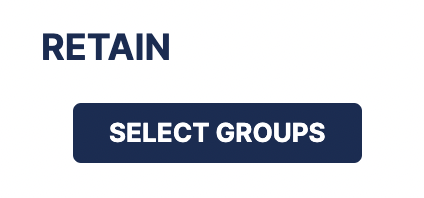
- To update RETAIN group access, you will want to click on the Groups button in line with the user's name. To update Hire Permissions, click Edit permissions.
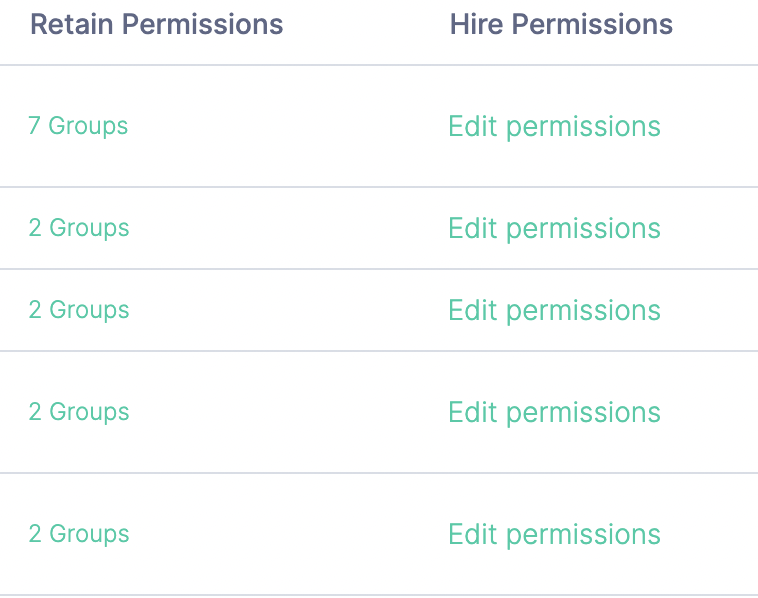
If no permissions are configured at all yet, Select Groups appears in the Permission Level:
- To configure or change the access scope, ensure you’ve already selected a permission level/group. Then select or unselect the checkbox that aligns with the Facilities and Roles for Hire and groups for RETAIN.
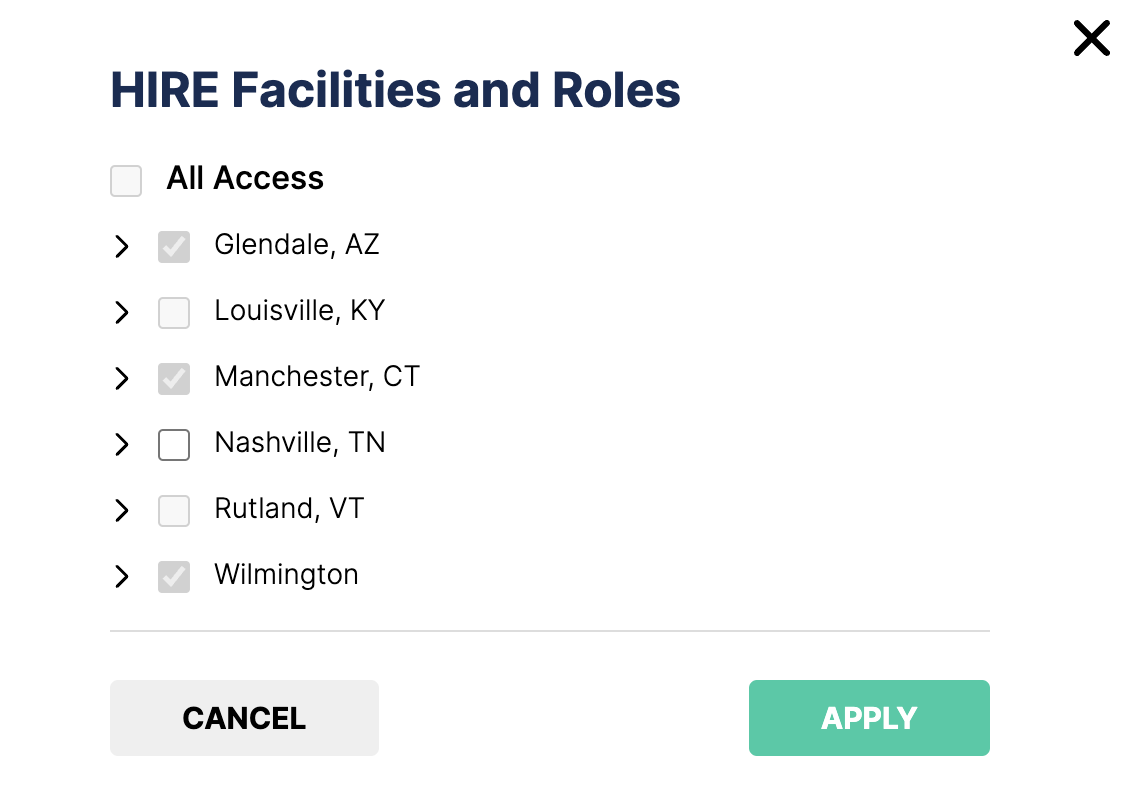

- Once you are done, click Apply.
- When finished updating the user configuration and details, click Save.
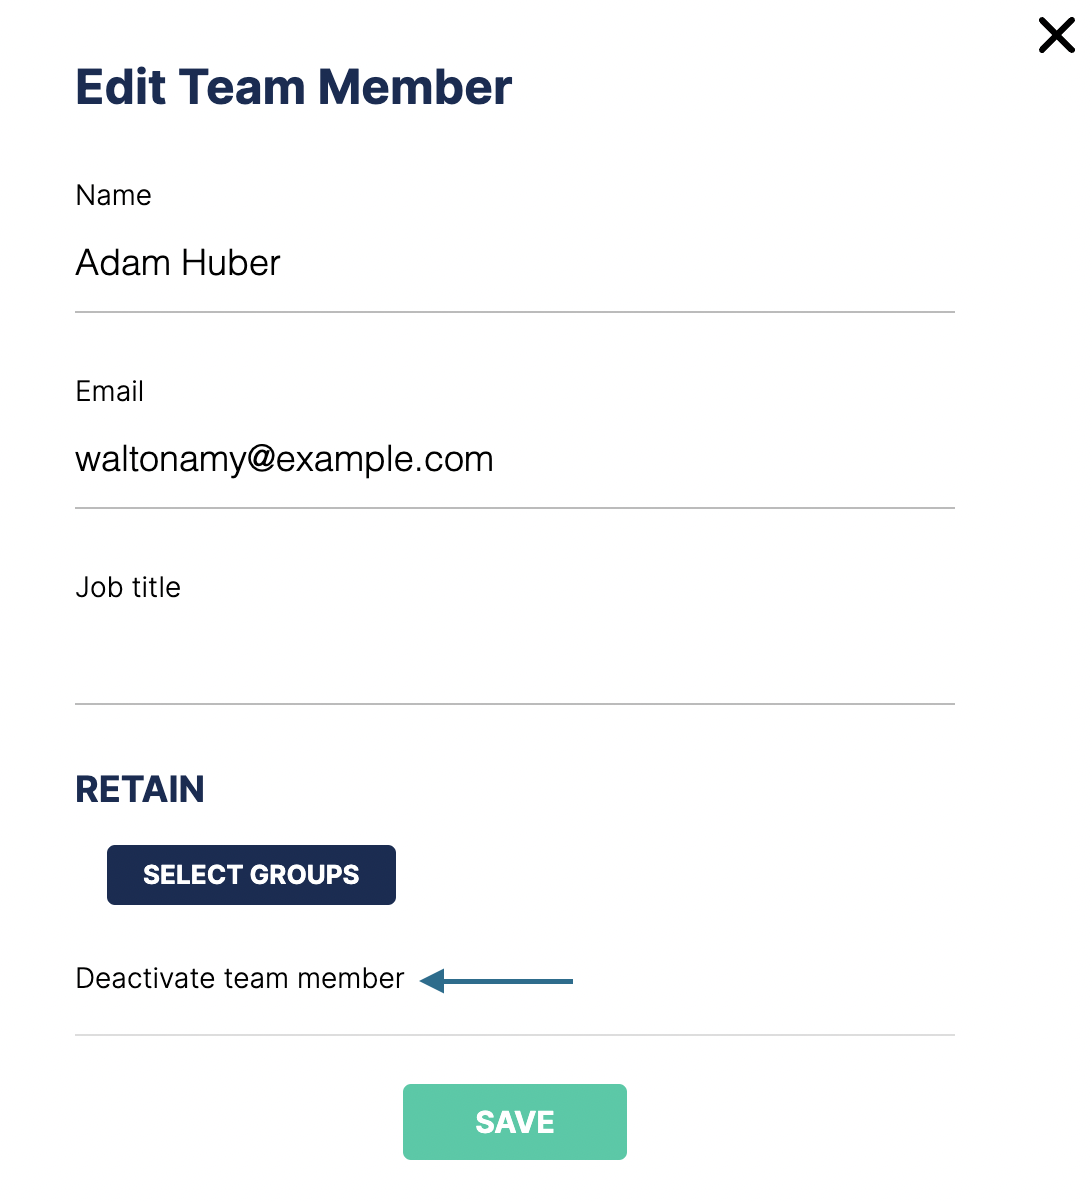
Deactivate Team Member
You can deactivate team members whenever you need to - this can be useful when an employee leaves your organization or even just changes roles. When you deactivate a user, they are completely removed from the system and they can no longer access it at all. Only admins with “all access” can deactivate another user.
To deactivate a user:
- Find the user you wish to remove
- Inline with the user's name, click the Edit link
- From the window that generates, click the Deactivate team member link from the bottom of the window
- To remove the user, click Deactivate team member: